I’m an amateur, self-taught home baker who’s only been baking about 2 years now. I was always intimidated by pastry and dreamed of learning to do pâtisserie but never thought it was possible! If someone like me could learn how to make pastries that would make my own mouth water, then anyone can with a little patience and learning a little technique!
When I first started to bake, I went with something easy – cakes and cupcakes – then gradually moved on to decorating techniques, curds and jams, basic patisserie/bakery treats and finally, after binging EVERY. SINGLE. SEASON of the Great British Bake Off at least twice whilst drooling non-stop… I worked up the nerve to tackle pâtisserie! I learned a LOT about technique from Spatula Desserts, a trained pastry chef who shares not only her incredible recipes, but also incredible detail to help you bake pastries worthy of a Parisian pâtisserie! Her pâte sablée tart recipes are my go-to and the best tutorial to perfect your pastry making skills (it’s basically become my browser home page!)!
Look – I can’t cook to save my (or my family’s) life and figured anything I did in the kitchen would always be a disaster. I mean, my own parents don’t even trust me to make a cup of tea (I’m dead serious – despite my training as a biochemist they don’t even think I can boil water properly)! So here I am, hoping to pass on some of my recent learnings to you! If you want to really impress someone (or just impress your own belly because you might not want to share this with anyone after your first bite ;)), then read on for the first recipe I came up with on my own, adapting my favorite savory galette pastry by the master Ottolenghi!
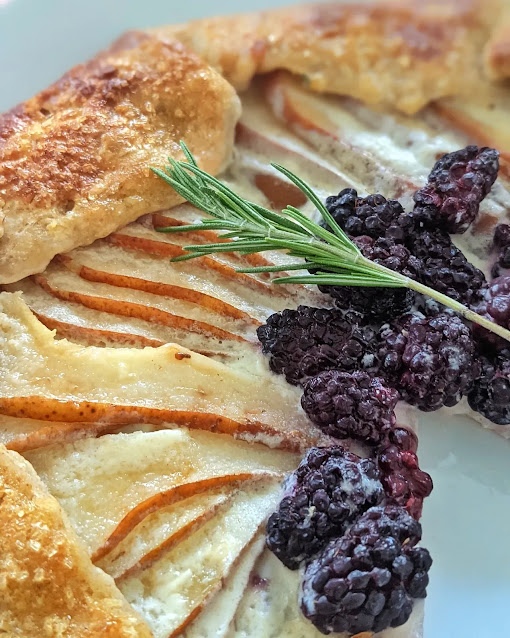
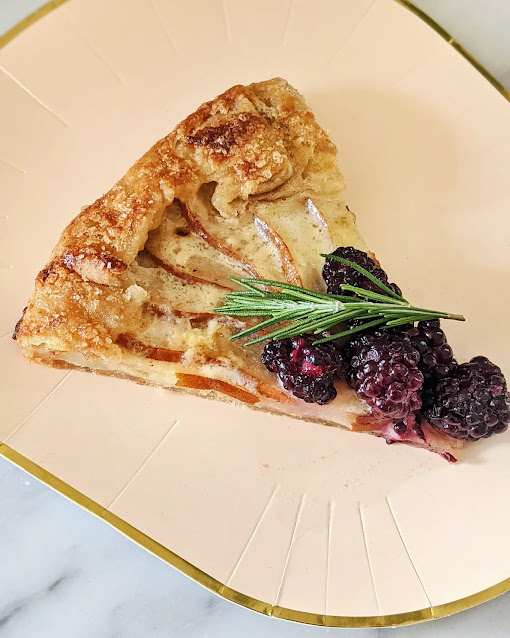
ROSEMARY PEAR BLACKBERRY GALETTE RECIPE
Serving size: 1 galette, 4-6 slices
Total Time: 3 hours (including chill time)
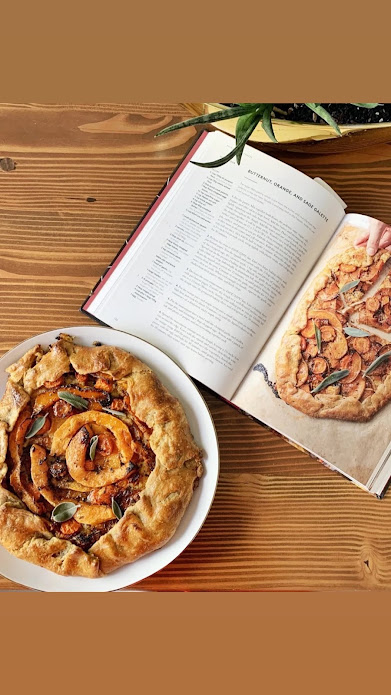
This super flakey pastry is like heaven! I adapted it from my favorite Ottolenghi recipe “Butternut, Orange, and Sage Galette” from his FLAVOR cookbook (pictured here – my bake and his recipe). It’s light and airy, but also rich and buttery at the same time.
REMEMBER: You want everything cold, cold, cold!!
– every pastry chef in the world 😉
Cold dough leads to a beautifully flakey crust!
PASTRY DOUGH RECIPE
The polenta is Ottolenghi’s secret ingredient to give the pastry an amazing crunch! The key to pastry is to keep it as cold as possible (while still being able to work with the dough) – anytime you feel the dough is getting too warm, stick it in the fridge for 5-10 minutes. TRUST me this is the difference between a beautiful, flakey pastry and a soggy, lifeless bake. It seems like a pain and a huge time zap, but it really really really does make a difference! So it’s not hard to make this pastry, it just requires a lot of patience!
Ingredients
- 3/4 cup/100g all-purpose flour
- 1/4 cup/30g whole wheat flour (plus more to dust)
- 2 tbsp quick-cook polenta
- 1 1/2 tsp finely chopped rosemary
- 4 tsp castor sugar (or other superfine sugar)
- 3/4 tsp flaked sea salt
- 4 tsp olive oil
- 6 tbsp/80g unsalted butter (freezer cold, cut into 1/2″ cubes)
- 1/4 cup/60mL ice-cold water
- Cut your butter into cubes and place in freezer for 10 minutes before using
- If you have a stainless steel or marble rolling pin, pop it in the freezer before use!
- Prepare a work surface with flour – you can use a marble pastry slab (I love this one), a pastry mat (I just started using these and cleanup is a breeze! I also love the guides that tell you what size your pastry is when you roll it), or just well floured parchment paper!
- Mix together the flours, polenta, rosemary, sugar, salt and olive oil in a large bowl
- Add the cold butter cubes and work through the flour mixture by squishing each cube between your fingers – if you feel the dough is getting too warm, stick the bowl in the fridge!
- Add the water and use your hands to gather the dough – it will be very sticky!
- Transfer the dough to a well floured surface and roll into an 11 x 7 inch rectangle, dusting the rolling pin, surface and pastry as you go with flour
- Fold the longer ends toward each other so they meet in the middle
- Roll the dough out once
- Fold the shorter ends the same way, roll out once
- Fold the dough in half to make a square
- Form the dough into a 5 1/2 inch circle, wrap it tightly with saran wrap
- Refrigerate for 30 minutes (during this time, I like to make the whipped mascarpone)
- Take out your dough from the fridge and transfer to a well floured parchment paper
- Roll out dough to a 12-inch circle, dusting your rolling pin and pastry as you go
- Gently lift the dough with the parchment paper onto a cold baking sheet and refrigerate for 30 minutes
Whipped Honeyed Mascarpone Recipe
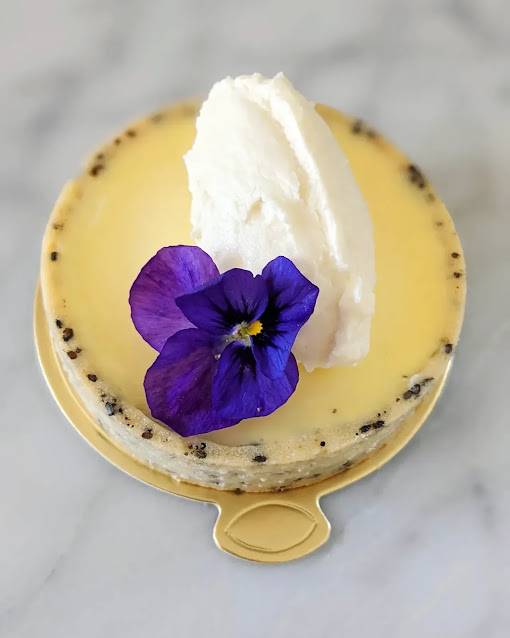
This 3-ingredient whipped mascarpone filling is creamy, luxurious on the lips yet light as a feather. With just a hint of sweetness from the honey, it elevates any fruit galette!
Ingredients
- 4 oz mascarpone cheese (fridge cold)
- 2 tbsp honey
- 1/4 tsp vanilla extract
- 1/4 tsp finely chopped rosemary (optional if you want a more intense rosemary flavor)
- Add all ingredients together in a small mixing bowl
- Using a stand mixer or handheld mixer with a whisk attachment, whip for 2-3 minutes on medium-high speed
- If whisking by hand, whisk together for 5-7 minutes until fluffy and airy
- Refrigerate until ready to use
FRUIT TOPPING AND ASSEMBLY
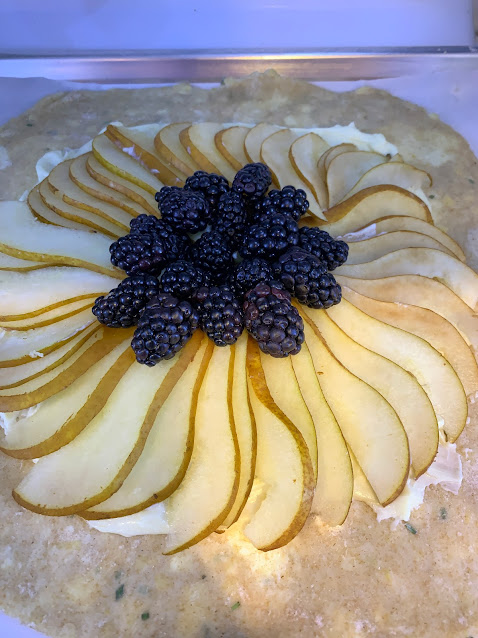
You can use any kind of fruit you like – I loved the idea of a more subtle flavor palette coming from pear and blackberries, and the contrast of the sweet pears with the tart berries!
Ingredients
- 2 pears (I used bosc because they’re crisper than most pears and maintain their shape better when baking)
- 1/2 cup of blackberries
- 2 tbsp butter, melted
- 2-4 tbsp raw sugar, to your preferred sweetness
- Egg wash (1 egg mixed well)
- Preheat your oven to 450°F/200°C
- PREP YOUR FRUIT: Slice your pears lengthwise in the middle, then remove the core
- Using a sharp knife, slice pears vertically into very thin 2-3 mm slices
- Wash berries – you can use any berry, use them whole or slice in half if you’d like to leak some color onto your galette!
- Remove dough and mascarpone mix from fridge
- Using a spoon or palette knife, spread mascarpone mixture evenly across your dough, leaving 1 1/2 – 2 inches rim around the edge (depends on how much pastry:fruit ratio you like)
- Arrange your pear slices radially in a clockwise direction
- Add your berries to the middle of the galette
- Fold the pastry up and over the fruit
- Drizzle the melted butter over the fruit topping
- Brush the pastry with egg wash
- Sprinkle raw sugar all over the fruit filling and pastry dough to your preferred level of sweetness (my pears were very sweet so I only added 2 1/2 tbsp of sugar and it was just subtly sweet!)
- Bake for 25 minutes or until golden brown
- Let cool for 20 minutes, then decorate with a sprig or two of fresh rosemary
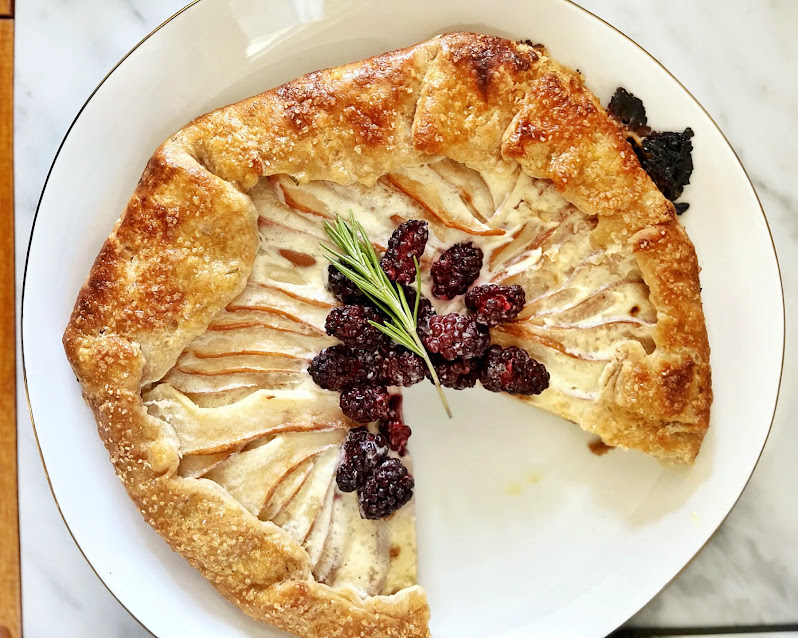
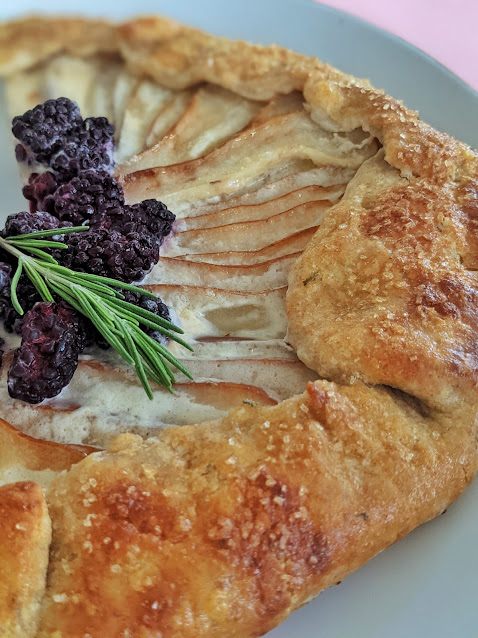
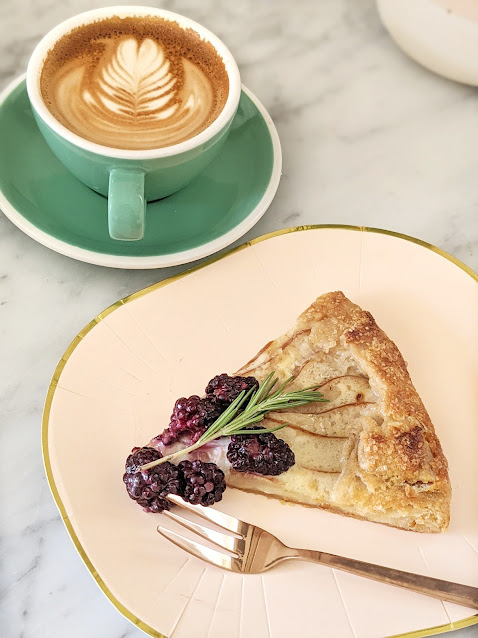
Please leave a comment or share with me on Instagram if you make this galette or have any questions! I would also LOVE to hear any variations you try (how about a peach and lavender galette?!) or ways you might improve this recipe! Bon appetit!
